Welcome to mac4xp’s blog:
“this disk doesn’t use the guid partition mac usb”“how do i fix this disk doesn’t use the guid partition table scheme”
“this disk doesn’t use the guid partition table scheme lion”
“This disk doesn t use the guid partition scheme mac”
“a guid partition table (gpt) partitioning scheme is required.
guid partition table scheme mac”“This disk doesn t use the guid partition scheme fix”
if you are also searching for similar queries on web, then this article is for you. why is your Mac showing “This Disk Does’t Use the GUID Partition Table Scheme error “and how do you fix it? In today’s post, we are going to show you how to fix This error on your macbook with step by step Guide.
So why is your Mac showing this error? “This disk doesn’t use the GUID partition scheme” I know from experience how confusing these kinds of messages can be when all you want to do is install MacOS on a MacBook.
When you try to install macOS on your MacBook, if the drive uses MBR (Master Boot Record) partitioning instead of GUID, then you will get this error message about GUID.
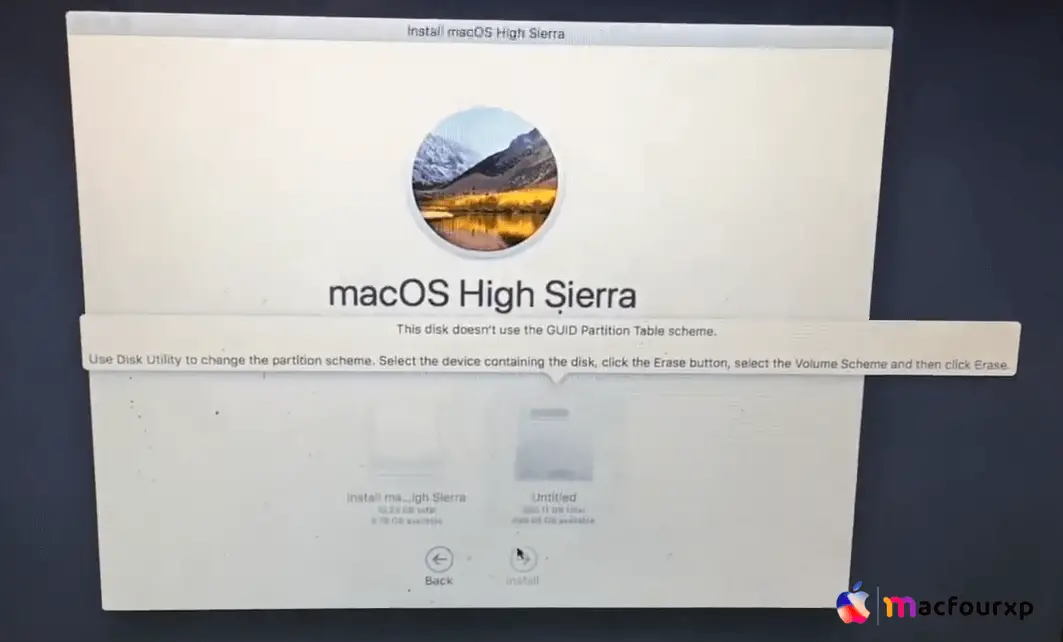
The GUID (Globally Unique Identifiers) is the partition scheme used for EFI/UEFI-based systems like newer Macs. In general, it means you have to reformat the disk to use the GUID partition table before you can install it.
Here is a step-by-step Guide to Fix ‘This disk doesn’t use the GUID partition scheme’ Error on Mac” by mac4xp
-
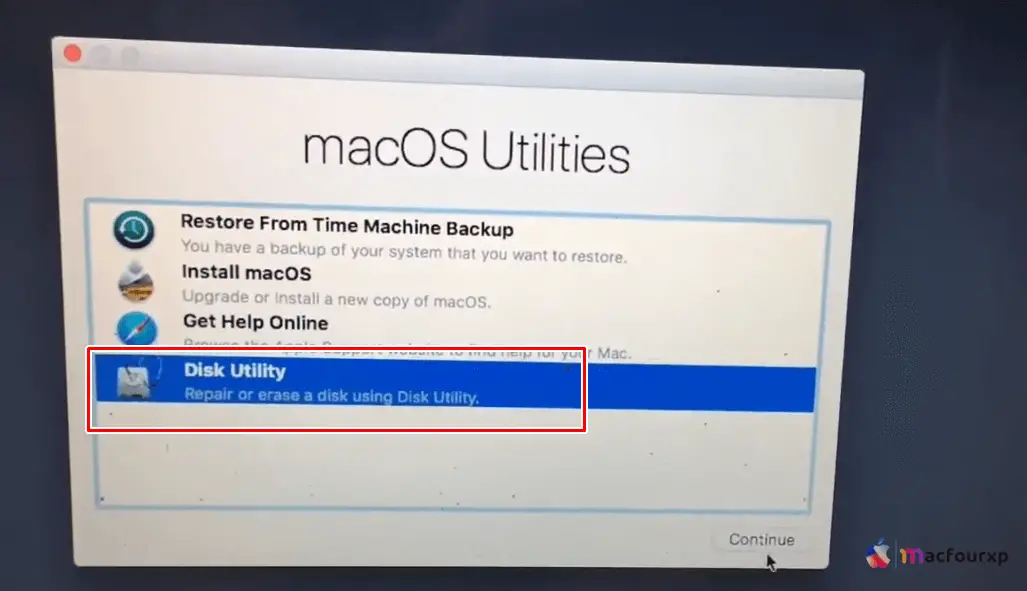
Step #1. First you have to go back to the installation windows and click on Disk Utility.
-
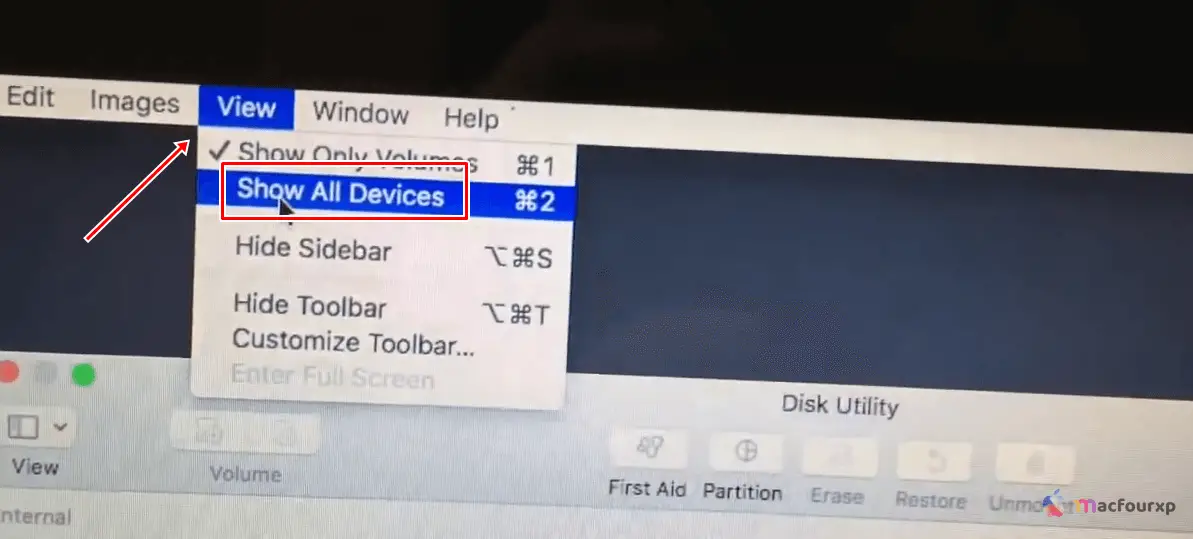
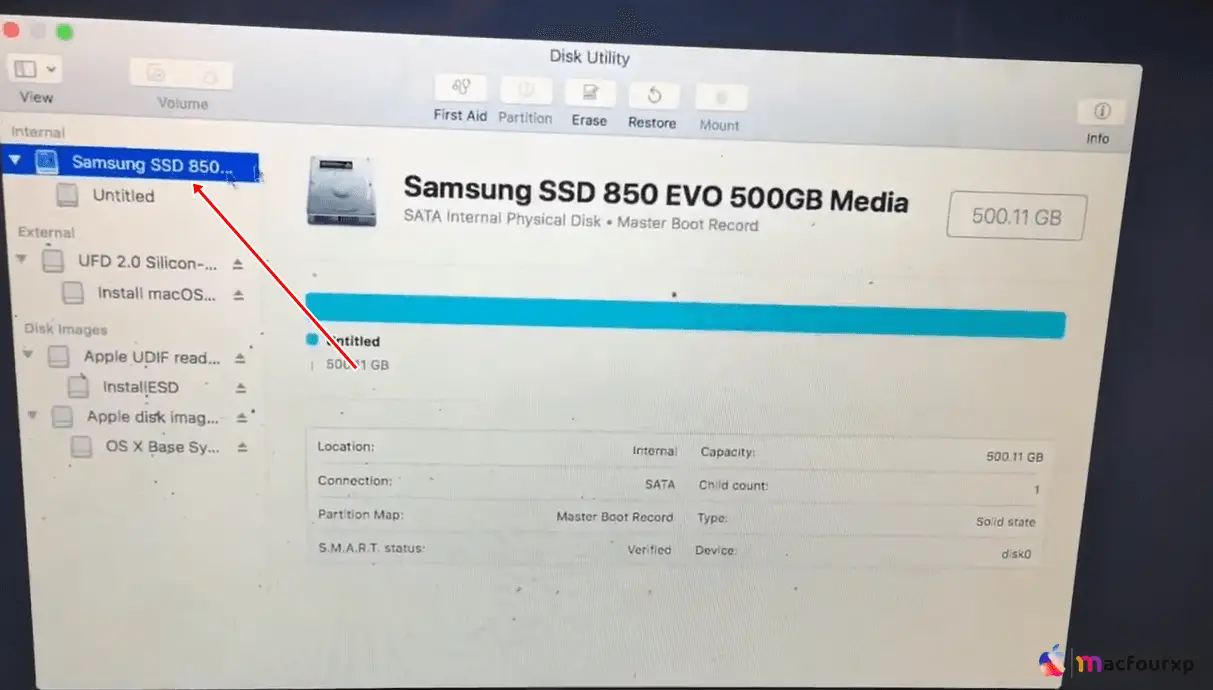
Step #2. When you open Disk Utility, all the connected physical drives will be shown. There are some physical drives that are hidden. To view them, click the “View” top bar and then click on “Show all devices”. Once you have done that, all your hidden drives will start showing up, and you can select your MacBook’s internal drive.
-
Step #3. Click the Erase button at the top of the Disk Utility window. This will bring up the erase dialogue box.
-
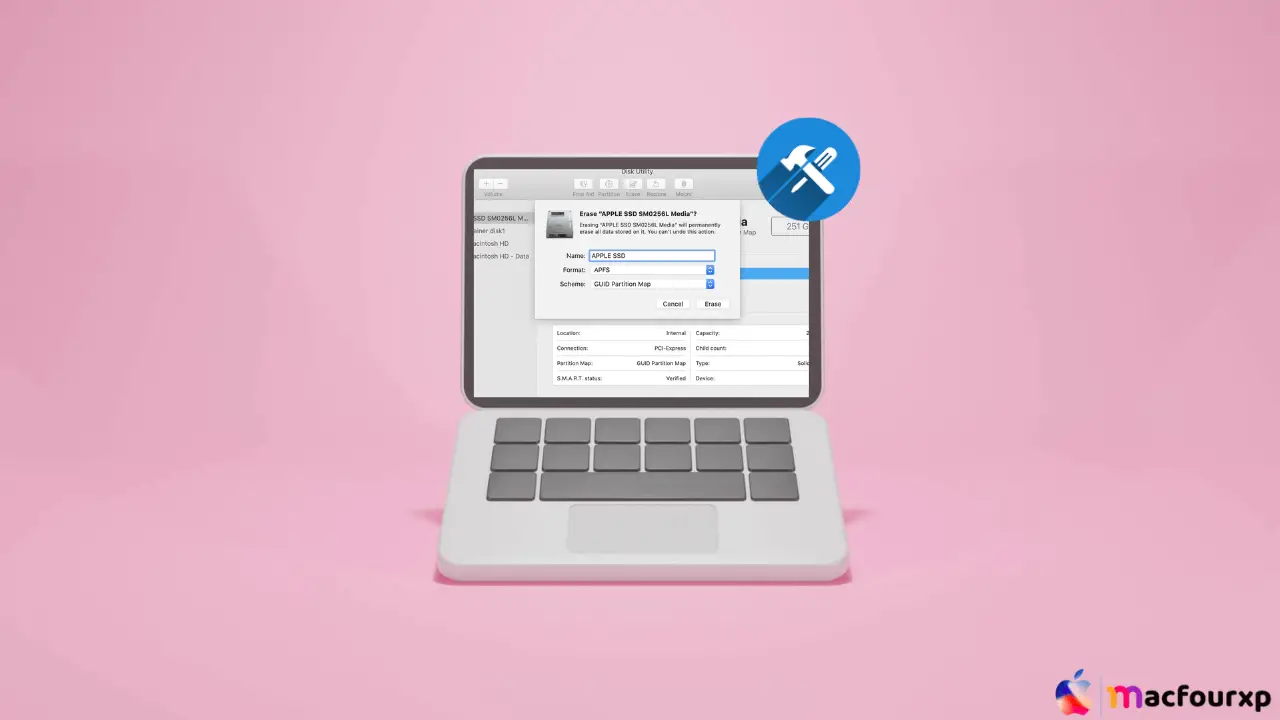
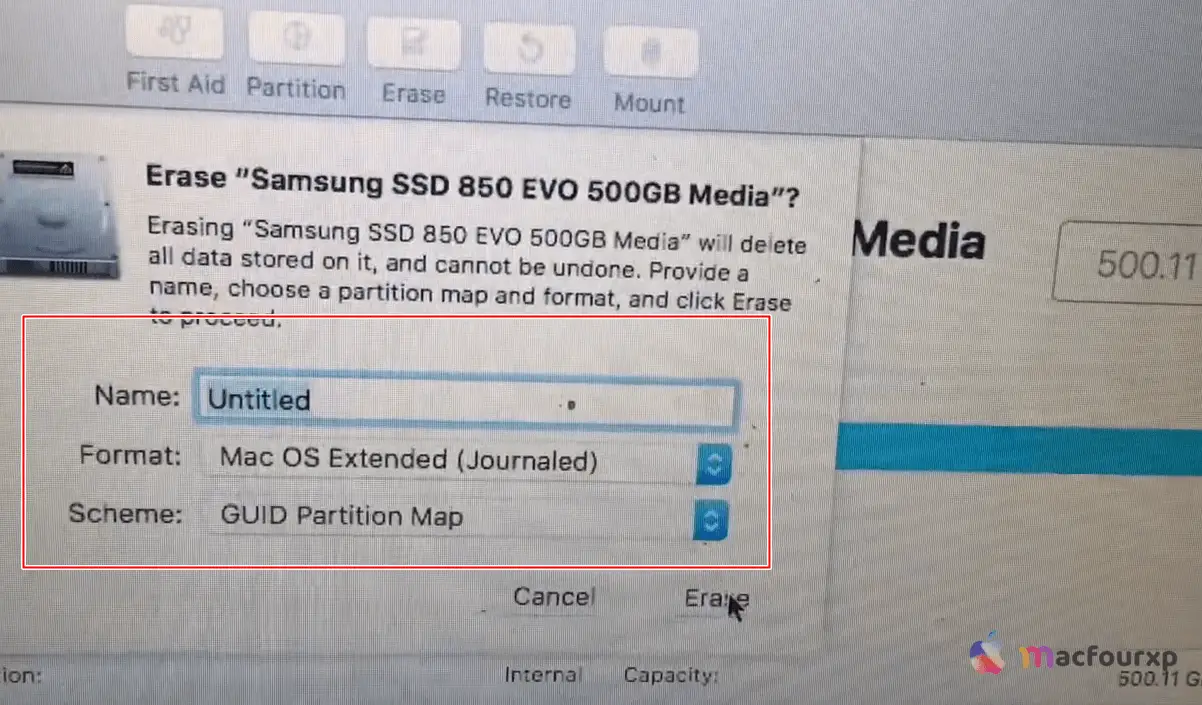
Step #4. In the erase dialogue box, set the Format to “APFS”. Importantly, set the Scheme to “GUID Partition Map”. You can name the disk if you want, but it’s not required. Make sure Encryption is set to “None”.
-
Step #5. “Triple check” you have selected the correct physical disk drive to erase. Erasing will delete all data on this drive.
-
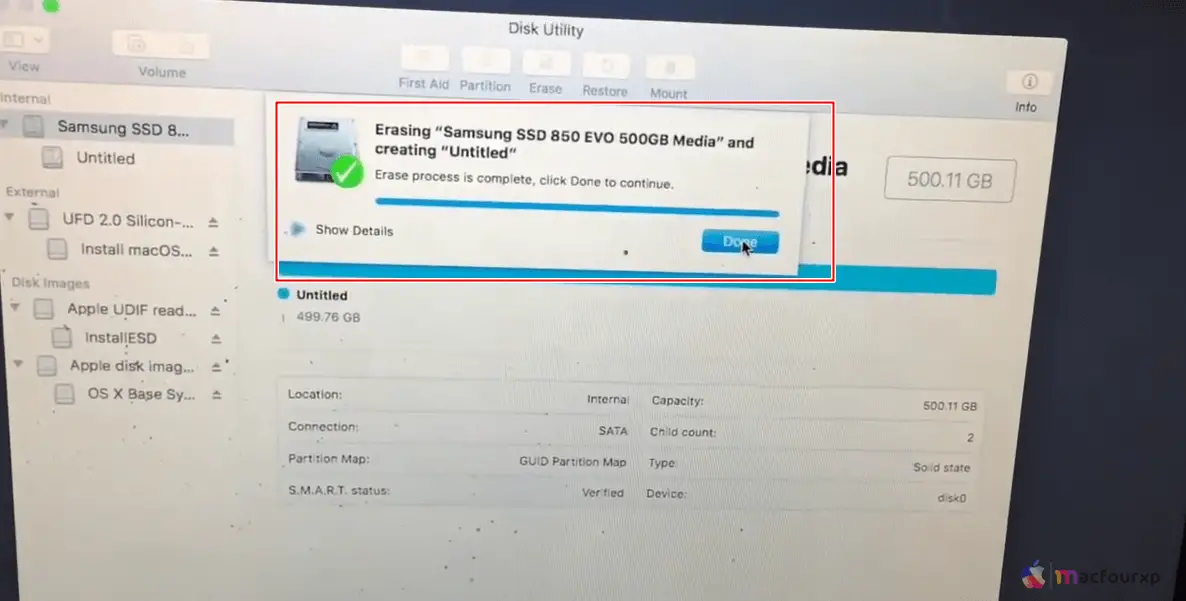
Step #6. Click “Erase” to confirm the changes and reformat the drive.
-
Final Step.
When it finishes erasing, you can “exit Disk Utility” and follow the screen instructions for installing again, and now the “This disk doesn’t use the GUID partition scheme” error won’t appear.
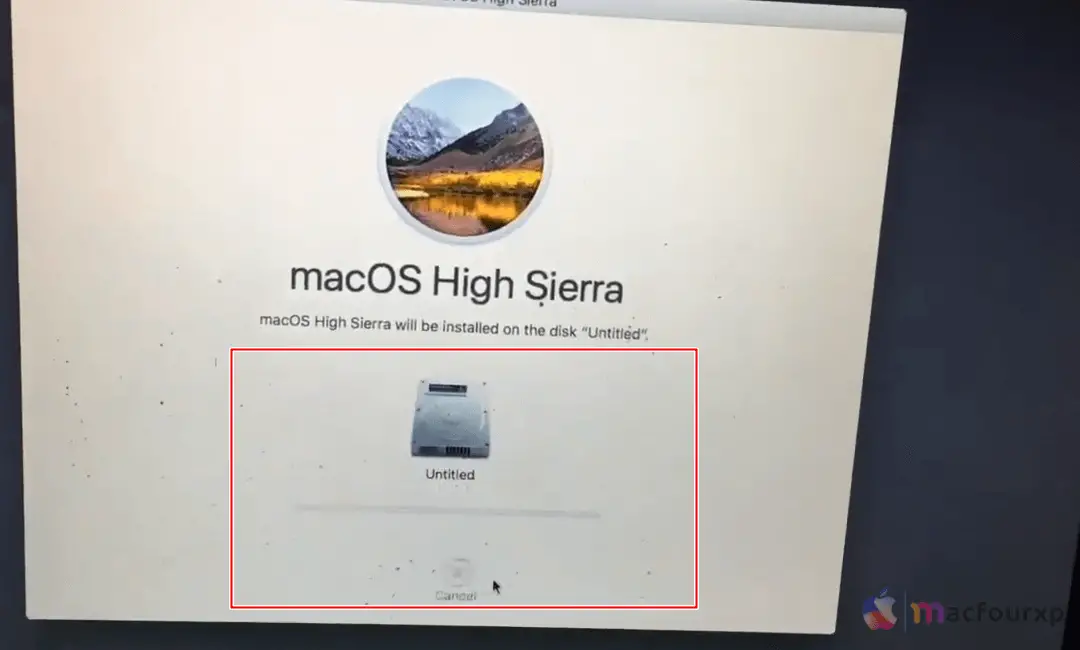
Tips 💡 : Before erasing, double-check that you have selected the correct physical drive.
Final Summary
Hopefully these steps will help you fix “This Disk Doesn’t Use the GUID Partition Table Scheme” error. If you face any problem while troubleshooting then you can comment below.
NEXT READ THIS:


