Welcome to mac4xp’s blog:
“How to fix the mac flashing folder question mark error without”
“flashing folder with question mark command r not working”
“how to fix flashing folder with question mark on mac without cd”
“How to fix the mac flashing folder question mark error macbook pro”
“how do i fix flashing folder with question mark on mac”
“mac blinking folder with question mark error”
if you are also searching for similar queries on web, then this article is for you. we are going to show you how to fix “Flashing Folder Question Mark Error on Mac” in this post.
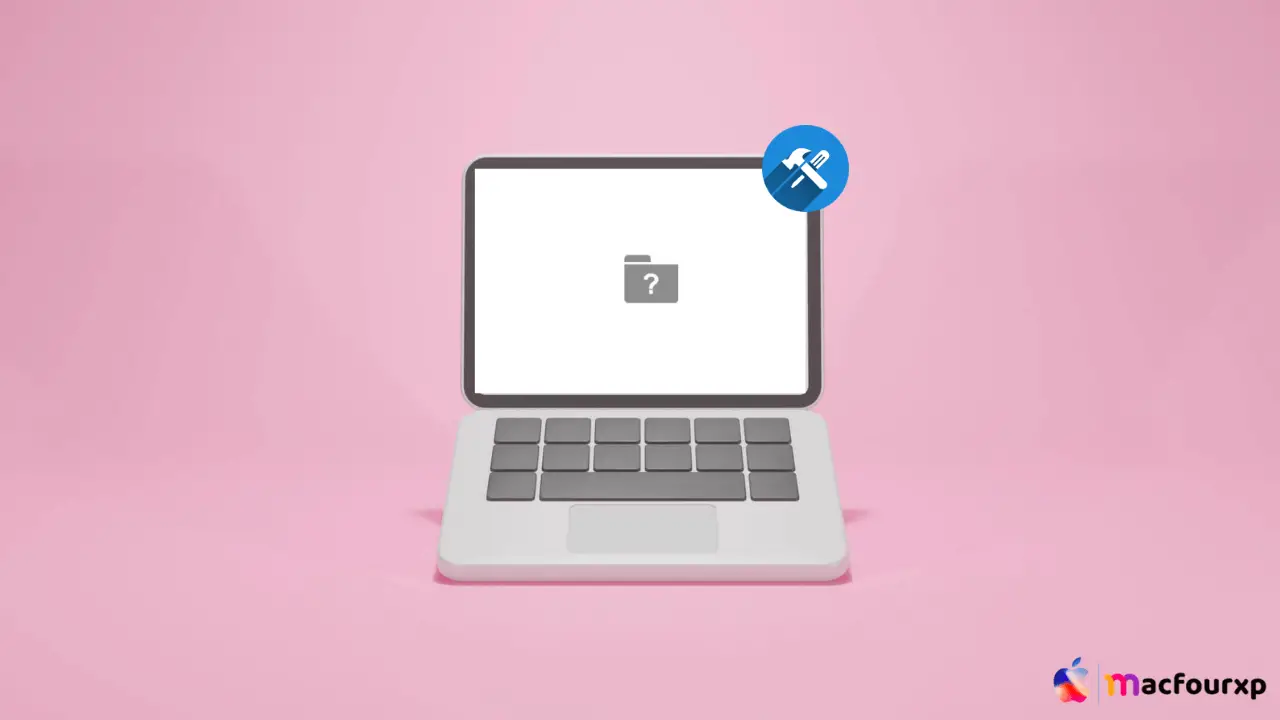
When you see a folder with a flashing question mark on your macOS, this means that your Mac could not locate the boot directory. For instance, there might be reasons such as OS failure, hard drive problem or issues of start-up disk settings.
Here are 5 steps to fix flashing folder with question mark error on Mac
Check Your Startup Disk Selection
Start by checking if your Mac is trying to boot from the correct hard drive. You can do this by using the built-in Startup Disk feature:
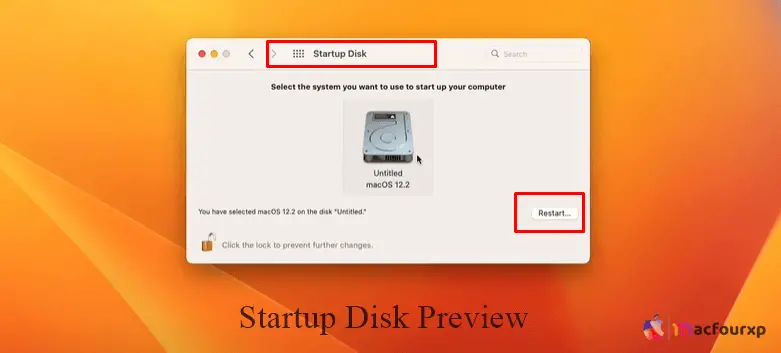
- Restart your Mac and immediately hold down the Option key.
- Release the Option key when you see the Startup Manager appear.
- Select your startup disk (usually named “Macintosh HD”).
- Click on the arrow underneath the icon or press Enter.
If your Mac boots successfully, go to System Preferences > Startup Disk and choose your startup disk for future restarts.
Reset NVRAM/PRAM
NVRAM (or PRAM on older Macs) stores information such as speaker volume, screen resolution, and startup disk selection. Resetting NVRAM/PRAM might resolve the issue:
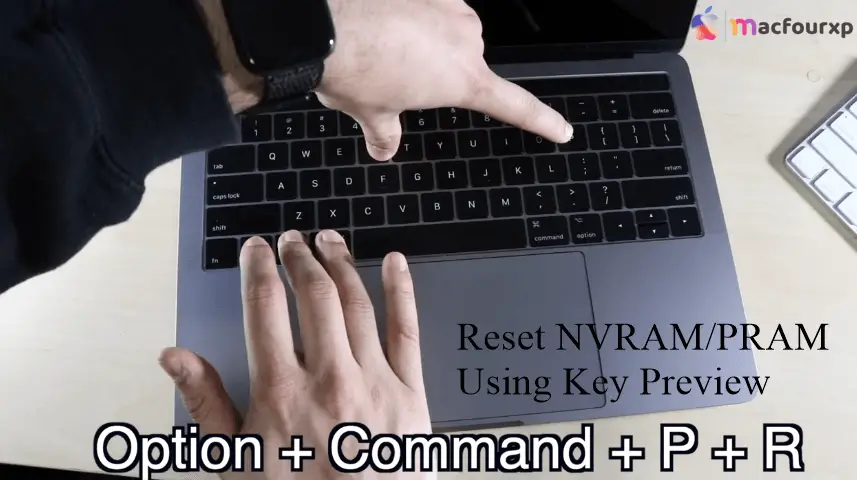
- Shut down your Mac.
- Turn it on and immediately press and hold Option + Command + P + R together.
- Hold these keys for about 20 seconds. On Macs with a startup chime, you can release them after hearing it for the second time.
Run Disk Utility in Recovery Mode
Running Disk Utility will help you verify and repair disk errors that could be causing the startup issue.
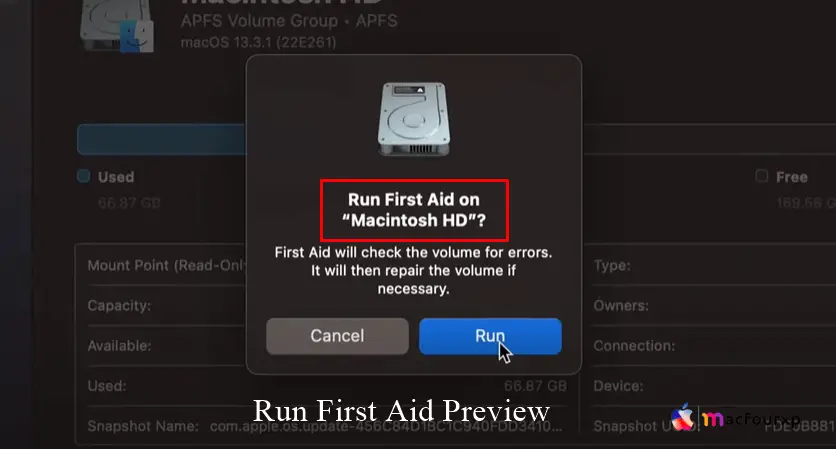
- Restart your mac computer immediately hold down command+R to enter recovery mode
- In macOS Utilities window click ‘Disk Utility’,.
- Choose from side bar within main MacOS Windows
- Then click ‘First Aid’ followed by ‘Run’. Follow the disk repair prompts.
Reinstall macOS
If none of the above solutions work, consider reinstalling macOS while keeping your files intact.
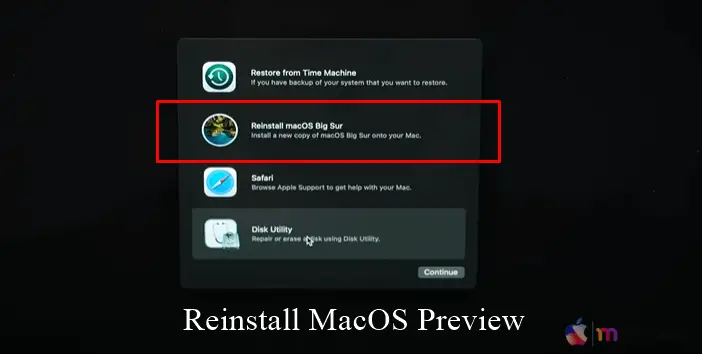
- Restart your Mac in Recovery Mode (hold Command + R during startup).
- From macOS Utilities, choose ‘Reinstall macOS.’
- Select your main volume (typically “Macintosh HD”) and follow instructions.
Check Hardware Components
In some cases, hardware issues could be to blame — especially if you’re using an older Mac with a mechanical hard drive.
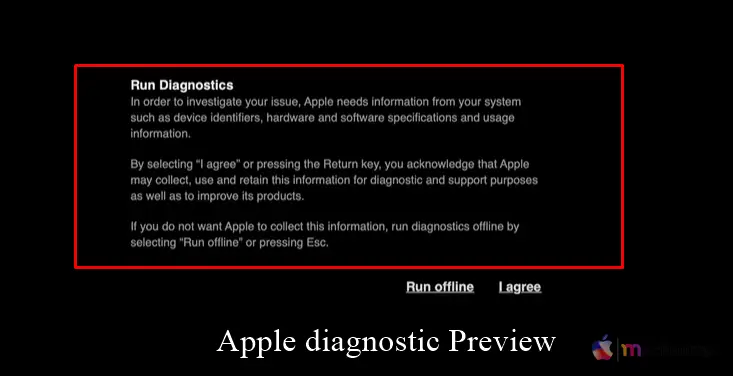
- To check this, boot up your computer while holding D button on your keyboard to use Apple Diagnostics (or Apple Hardware Test for earlier models).
- Follow on-screen instructions to see if there are any issues reported.
Final Thoughts
Remember that if none of these solutions help, then it may indicate a more serious hardware issue such as a failed hard drive or cable malfunction.
So, professional diagnostics and service will require contacting Apple support or going to their stores which are located in different parts of the country such as authorized repair center near you.
NEXT READ THIS:
What do I do if my Mac won’t turn on after spilling water


