Welcome to mac4xp’s blog:
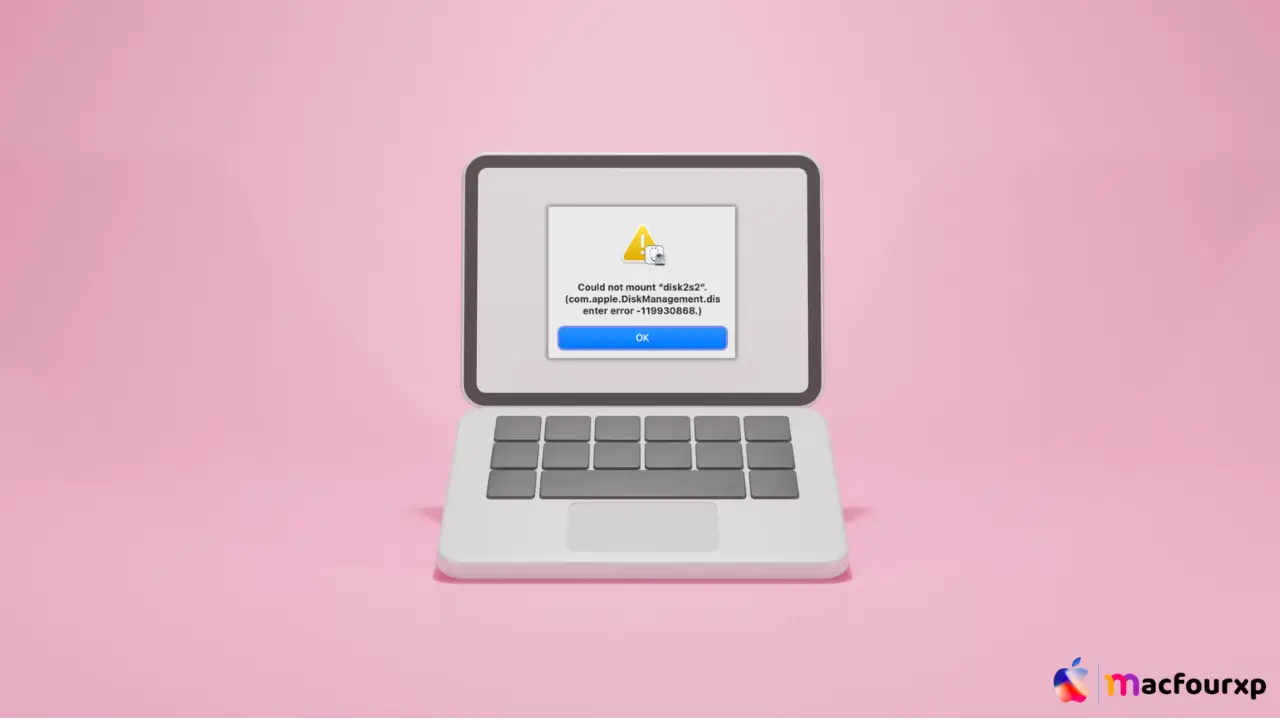
“Com apple diskmanagement disenter error 119930868 samsung”
“Com apple diskmanagement disenter error 119930868 fix”
“Could not mount disk2s1 com Apple diskmanagement disenter error -119930868”
“Com Apple DiskManagement disenter error 49244/49218/49180/49153/49244/49668/49218/53249”
“Could not mount ‘drive_name’com.apple.DiskManagement.disenter error 119930868”
“Com Apple DiskManagement disenter error –119930872“
if you are also searching for similar queries on the web, then this article is for you. we are going to show you how to fix “ com.apple.DiskManagement.disenter error 119930868 on Mac” in this post.
The error “Could not mount ‘drive name’ com.apple.DiskManagement.disenter error 119930868” can confuse even long-time Mac users. This happens most of the time when you try to mount an external drive or partition.
so you are left with the annoying problem of not being able to access important data. However, don’t worry mac users, because we will share our 5 professional methods to fix this problem and get your drive back in working order.
What is the cause of the error “com.apple.DiskManagement.disenter error 119930868”?
- A 119930868 error is associated with the com.apple.DiskManagement.disenter error, which usually means your Mac’s disk management system isn’t communicating with the drive it’s supposed to. This might be due to file system corruption, driver conflicts, or physical connections.
Here are 5 Solution to fix “com.apple.DiskManagement.disenter error 119930868″ on Mac”:
Restart and Reconnect :
Sometimes simple solutions work best, simply remove the disconnected trouble drive from your Mac.
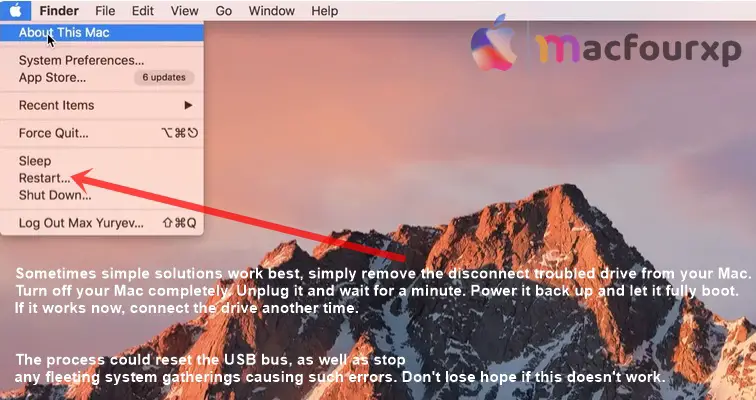
- Switch off your Mac completely.
- Unplug it and wait for half a minute.
- Power up your Mac again then let it fully boot.
- Try connecting to the drive once more to see if it mounts now.
- The process could reset the USB bus, as well as stop any fleeting system gatherings causing such errors. Don’t lose hope if this doesn’t work
Mac’s Built-in Medic “First Aid“
It’s easier to diagnose and fix disk problems with macOS thanks to its powerful tool.
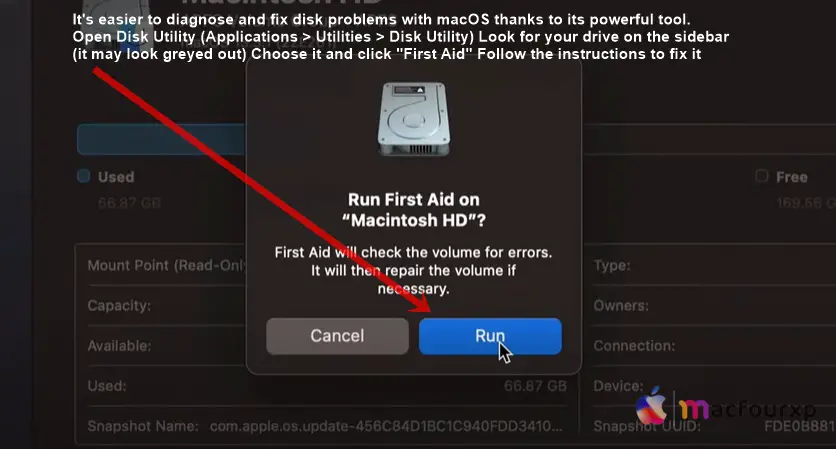
- Open Disk Utility (Applications > Utilities > Disk Utility)
- Look for your drive on the sidebar (it may look greyed out)
- Choose it and click “First Aid” Follow prompts to run the repair process.
If Disk Utility finds and fixes issues, try mounting the drive again. If it says that your disk seems to be good but you cannot mount it still or even worse cannot see the drive at all, proceed to the next stage.
USE Terminal to Fix:
Try using disk command if you are comfortable using command-line interfaces.
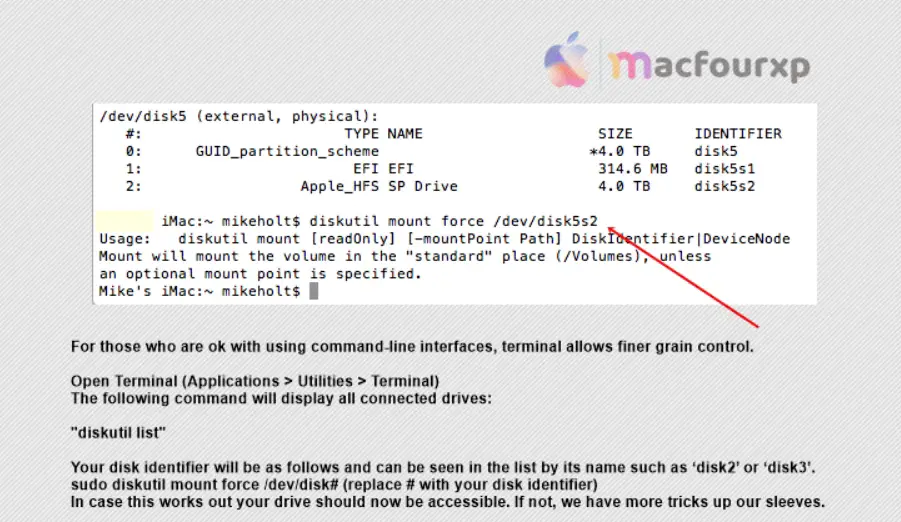
- Open Terminal (Applications > Utilities > Terminal).
- The following command will display all connected drives: “diskutil list”
- Your disk identifier will be as follows and can be seen in the list by its name such as ‘disk2’ or ‘disk3’.
- run this cammand “sudo diskutil mount force /dev/disk# (replace # with your disk identifier)”
- In case this works out, your drive should now be accessible. If not, we have more tricks in our pocket.
Reset SMC (The Hidden Troubleshooter):
The SMC controls a number of low-level things in your Mac, like USB power management, resetting the SMC can resolve almost all of your Mac issues.
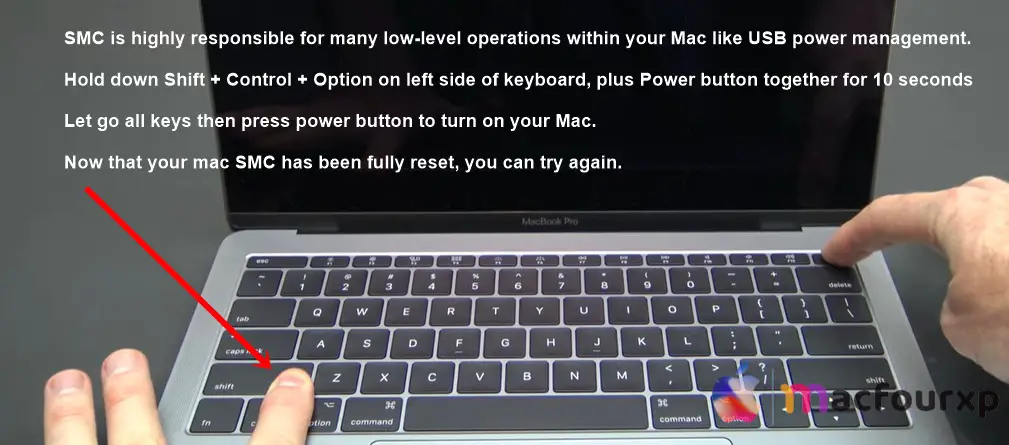
For Macbooks with non-removable batteries:
- Shut down your Mac.
- Hold down Shift + Control + Option on left side of the keyboard, plus the Power button together for 10 seconds.
- release the all keys then press the power button to turn on your Mac.
- Now Connect your drive to your macbook and check again.
For desktop Macs:
- Shut down and unplug from the power cord.
- Reconnect after a waiting period of about 15 seconds.
- Press the power button after five seconds.
- Now connect your drive to your macnook and check.
Reformatting : ( Last option)
Successful formatting is the last resort if everything else fails.
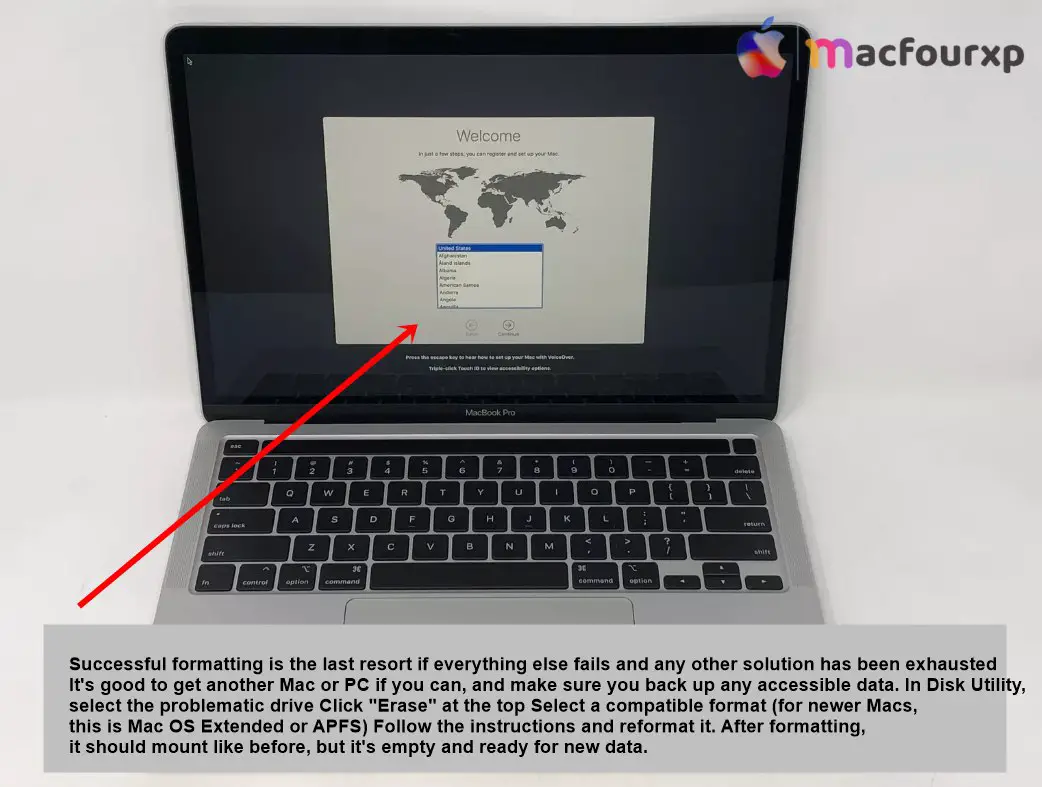
WARNING: This will erase all data on the drive.
- Shut down your Mac.
- Now, press the Command + R keys to boot the Mac.
- An installation window will appear > choose pick the “disk utility tool.
- Then select problematic drive in Disk Utility,
- In the Disk Utility window, click “Erase” at the top.
- Select a compatible format (in most cases Mac OS Extended or APFS for newer Macs).
- Go ahead with reformatting by following the instructions given.
- After formatting, it should mount as usual but will be empty and ready for new data.
- If all the rest doesn’t work, just install a new macOS.
- Retrieve the lost files from a Time Machine backup.
- Just create an account to test whether it is profile related or not.
- Sometimes it is necessary to turn off third-party anti-virus software temporarily.
- You also need to check if the system files are not spoiled using “sfc /scannow” command.
- The S.M.A.R.T. The status of your disk has to be checked as well because it may be caused by a hardware failure.
- use some other tools such as DiskWarrior that can solve this problem more effectively than Apple’s built-in utilities.
- if the hard drive is already old or faltering, then consider buying a new one.
- For any persistent issues, however, call an Apple Certified Technician for further advice.
Final Thoughts
If you follow the above 5 working solutions then we are sure you will be able to defeat com.apple.DiskManagement.disenter error 119930868 error. As always, make sure you save your data first. If the above solutions fail and the disk has valuable information, then contact someone who specializes in data recovery.
NEXT READ THIS:
Fixed : (com.apple.OSInstallerSetup.error error 702.)


